Straw Ornaments
A technique guide | Video Included
(Members Only)
A technique guide | Video Included
(Members Only)
Rye straw or plastic drinking straws
String or thread (lightweight kite thread or other sewing thread)
Needle (one short and one very long)
Ruler
Scissors or cutting blade

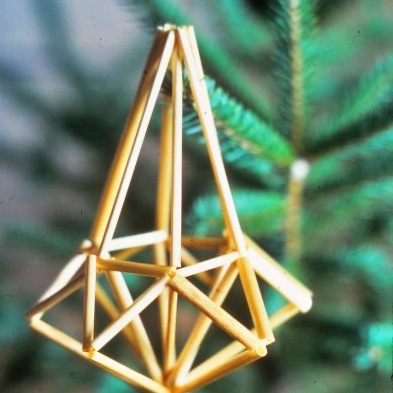
Dry, ripe wheat or rye stalks are selected. Clipped out any nodes, keeping straight pieces of various lengths. The stalks are then soaked in hot water for pliability, dried, cut and graded according to length and thickness. Pieces may vary from 1 to 8 inches (2 to 20 cm) in length. When the straws are dry, glue may be applied to the inside of each end to prevent splitting. Once the glue is dry, the straws are ready for threading. Today many crafters use white paper or plastic drinking straws to make ornaments.
Fine twisted linen or cotton thread is used for threading, although cotton thread is preferable for its softness and elasticity. Long needles of medium width pass easily through the hollow centres of the straws. A thick needle or thread may hamper the formation of intricate designs since it must pass through the same shaft a number of times.
Threading usually starts with basic two-dimensional shapes, beginning with triangles and working up to multi-dimensional constructions.

Thread a needle and keep the string as a single strand while working the entire ornament. If additional string is required, remove the needle and attach more string, rethread and continue.
Pull the needle through four (see drawing and videos below) straws of equal length, tie a knot at the end of the last straw, pull it inside the straw to hide it, leaving enough string to continue with the rest of the ornament.
Thank you to Gabrielle Valevicius for generously sharing her videos and illustration with us.
The shape of the ornament can be changed simply by changing the length of the straws used in the instructions for the basic ornament. For example, using eight 4-inch (10 cm) straws and substituting four 2-inch (5 cm) straws for the 3-inch (8 cm) ones, the ornament will be more elongated. Experiment with other sizes.
For an eight-sided ornament use sixteen 4-inch (10 cm) straws and eight 1-inch (3 cm) straws, proceed as for the six-sided ornament, repeating as necessary.
Fringes are made by cutting straws into small half-inch or one-inch lengths on the diagonal. Sew these pieces together through the mid-point of each piece, as in stringing popcorn. Long strings of fringe may be hung as garlands on a Christmas tree, or in short lengths to finish an ornament.
 An artisan specializing in knitting. She taught a knitting workshop at the LTFAI AGM several years ago and fell in love with the organization. Not only is she a prolific author of knitting books, with “The Art of Lithuanian Knitting” under her belt, but she’s also the creative genius behind our social media presence.
Donna weaves her magic into our online world, managing the LTFAI Facebook page with finesse. Donna has also enlightened us with her workshops and riveting LTFAI Talks.
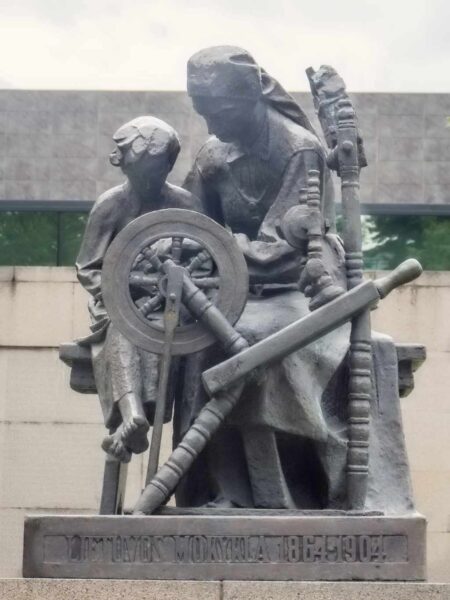
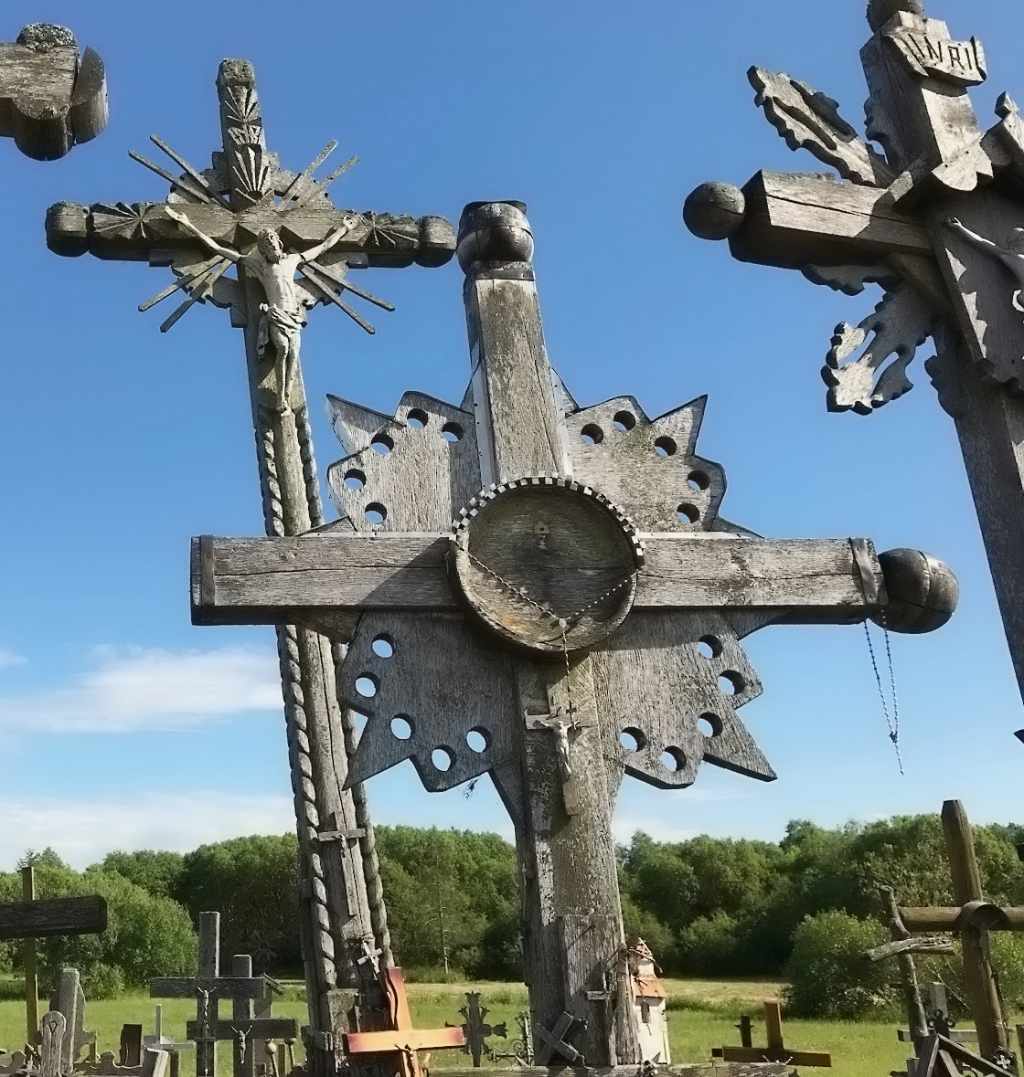 Traditional Crosses in Lithuania:
Lithuania is sometimes called the land of crosses. Crosses and unique pillar shrines with various sculptures have been an integral part of the Lithuanian landscape for several hundred years. They represent not only religious symbolism but national identity especially in times of repression. We will look at and discuss the amazing wooden carving and iron work of this important folk art and touch on the well known Kryziu Kalnas (Hill of Crosses) site in Lithuania.
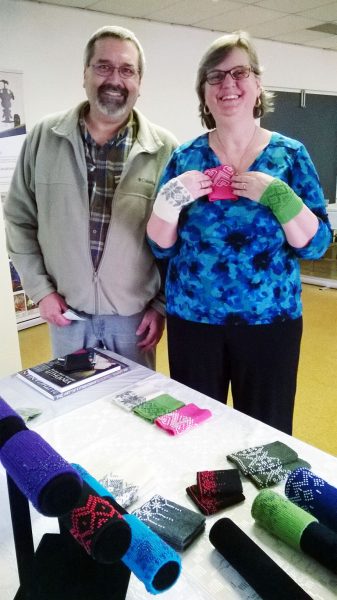
Wool (Vilna):
Wool Crafts in Lithuania: Although linen features prominently in Lithuanian folktales and folk songs, we rarely hear about wool. However in the cold climate working with wool was an integral part of daily life forrural villagers in Lithuania. Small farms were self-sufficient; little or no money was needed to supplement the household’s home production. All the women and girls in a family spun, wove, knitted, and felted wool to create all of the households woolens.
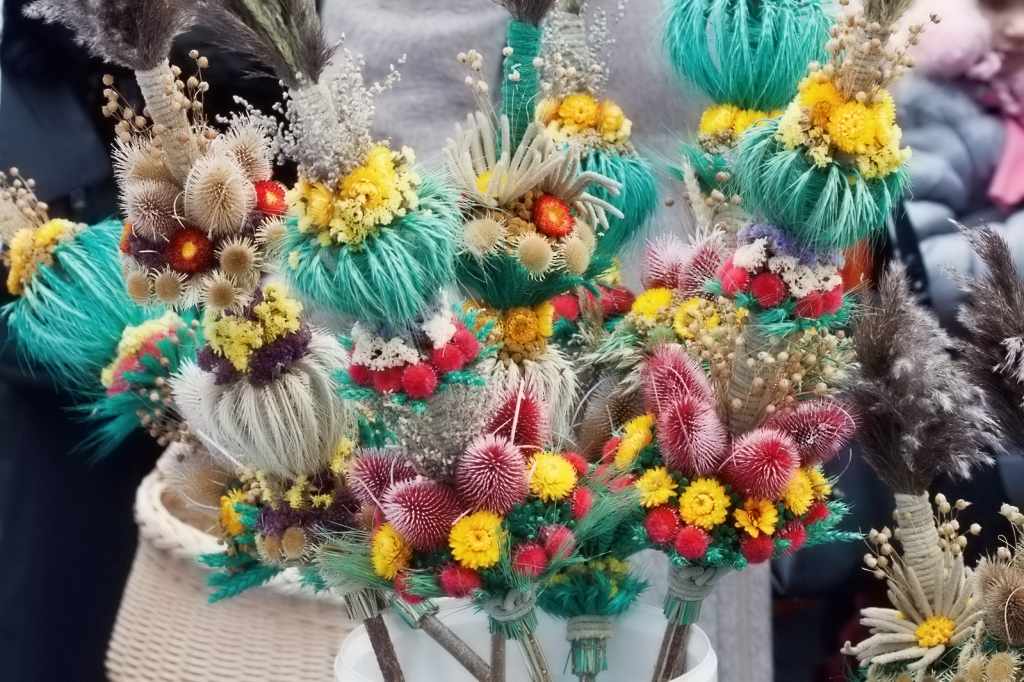 Easter Palms (Verbos)
History and Significance of Verbos in Lithuanian Life: Palm Sunday is an important part of the Easter tradition. Learn about the history of decorated palms and get to know the customs and decorative techniques specific to Lithuania. (Please note, this is not a hands-on workshop.)
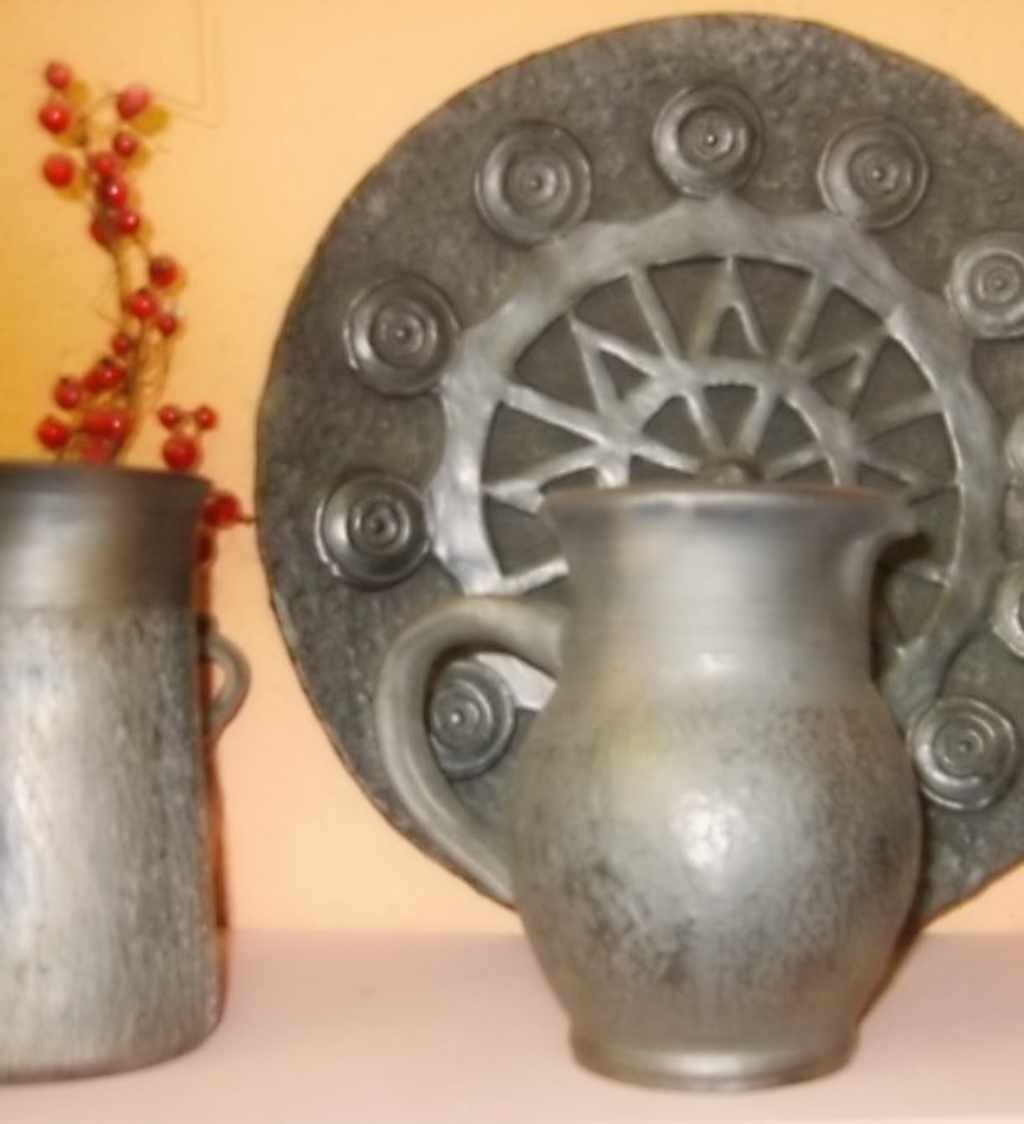 Black Ceramics (Juoda Keramica)
History and use of black ceramics in Lithuania: The tradition of black ceramics has been documented in Lithuania for centuries. Although eventually falling out of favour due to other pottery techniques, Lithuania is one of the few places that still make this beautiful pottery. Learn about the history, techniques and artistry of black ceramics.
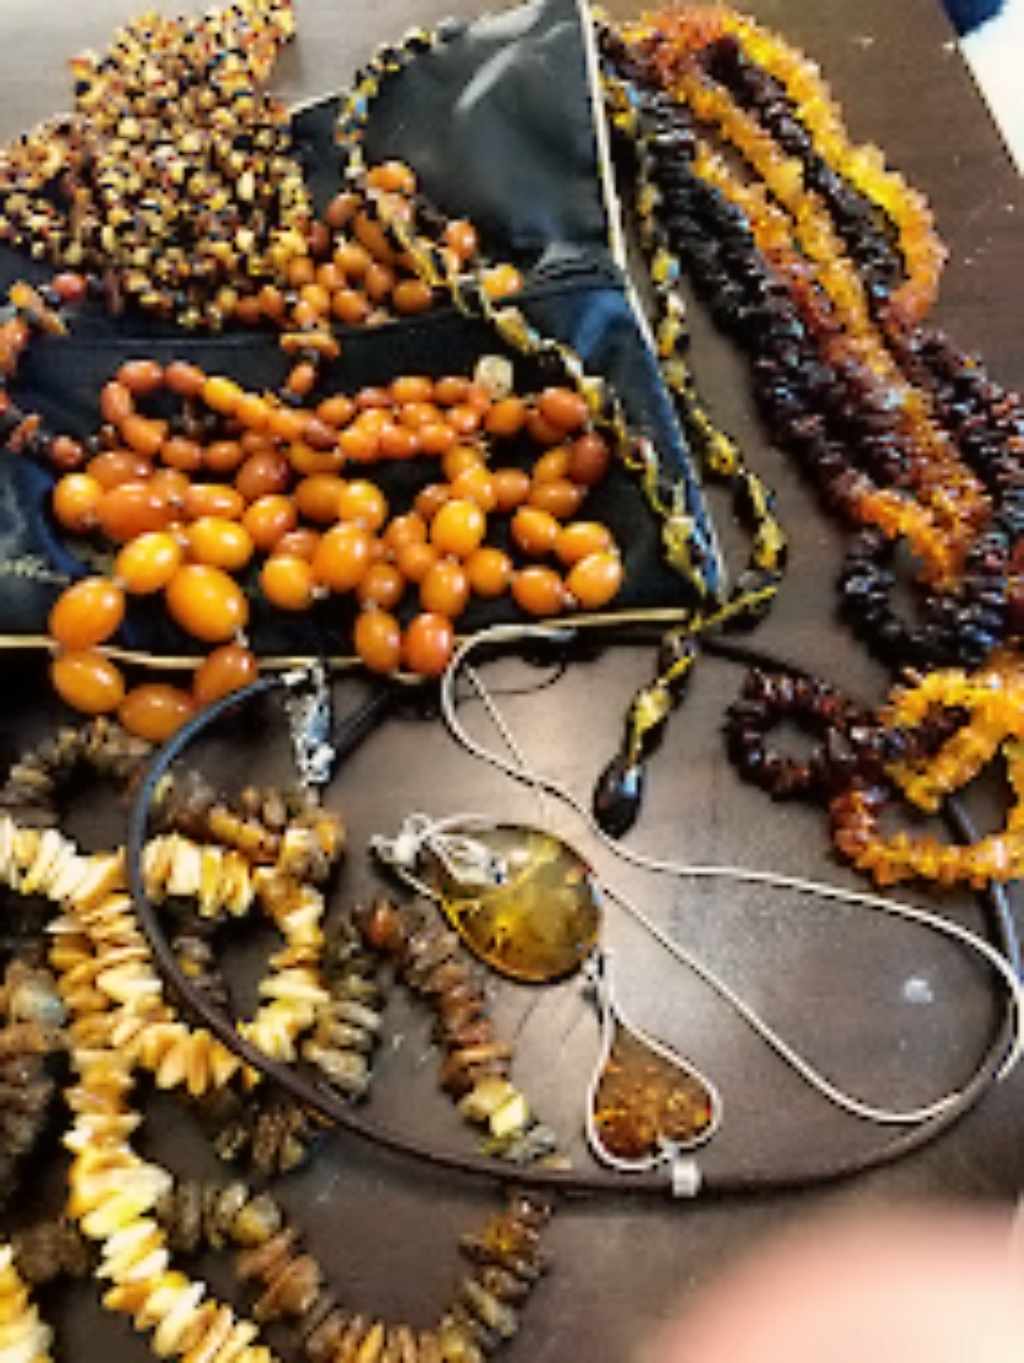
Amber (Gintaras)
Gintaras – Our Golden Heritage: Gintaras, or Amber, has been important to Lithuanians and Baltic people for millennia. Important in terms of culture, art and symbolism. Learn about various aspects of Amber to bring you to a new and better understanding and appreciation of this beautiful “golden stone”.
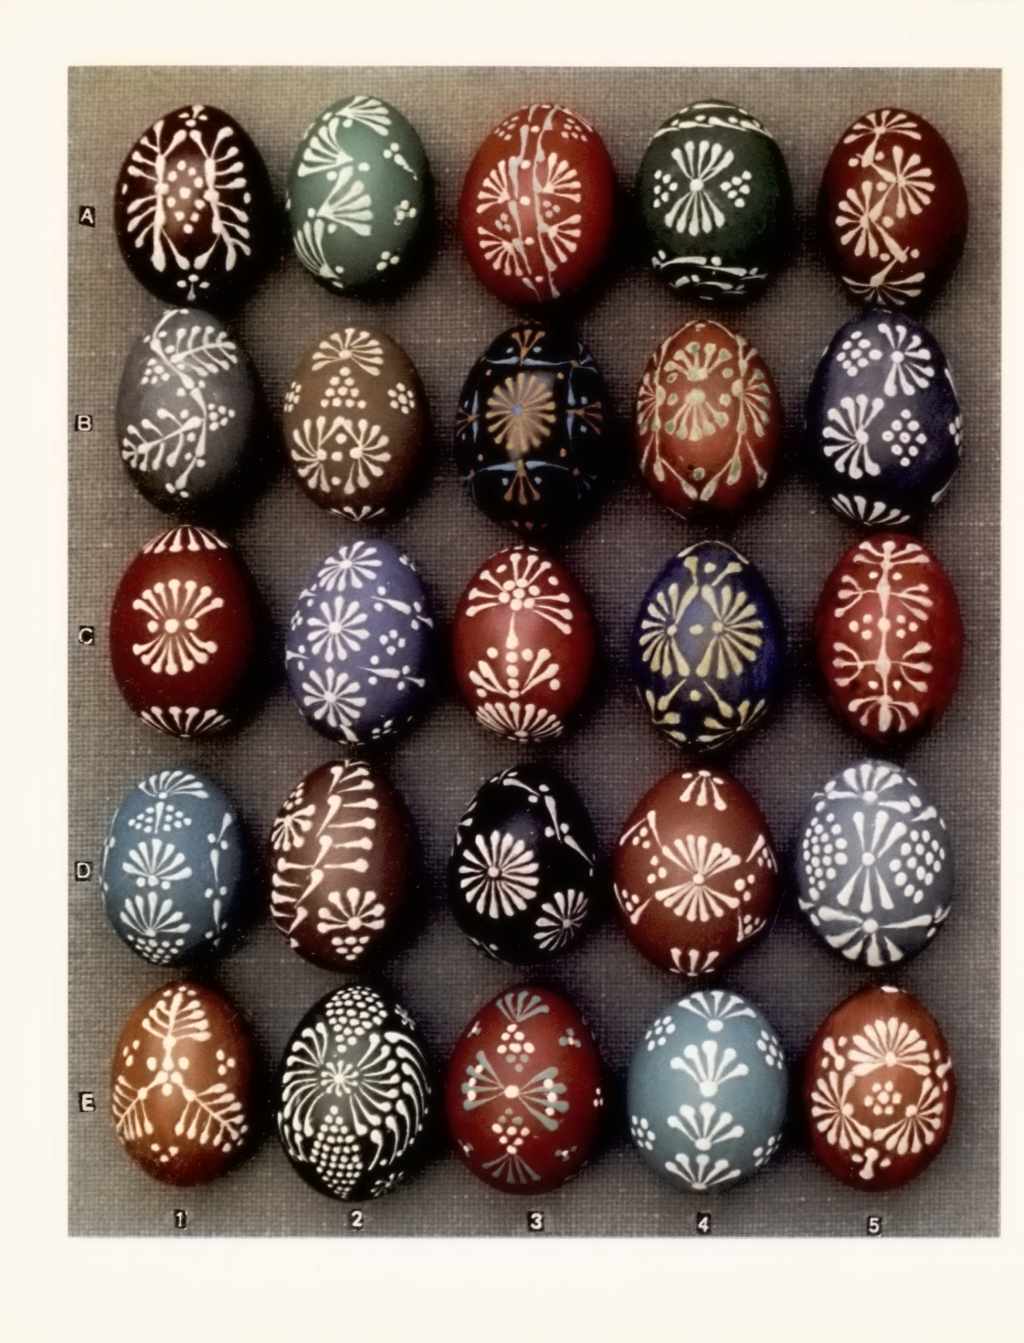 Easter Eggs (Marguciai)
History and Significance of Easter Eggs in Lithuanian Life: The egg has long been seen as a symbol of fertility and life. Learn about the role of decorated eggs in ancient and modern times. Get to know the customs and decorative techniques specific to Lithuania.
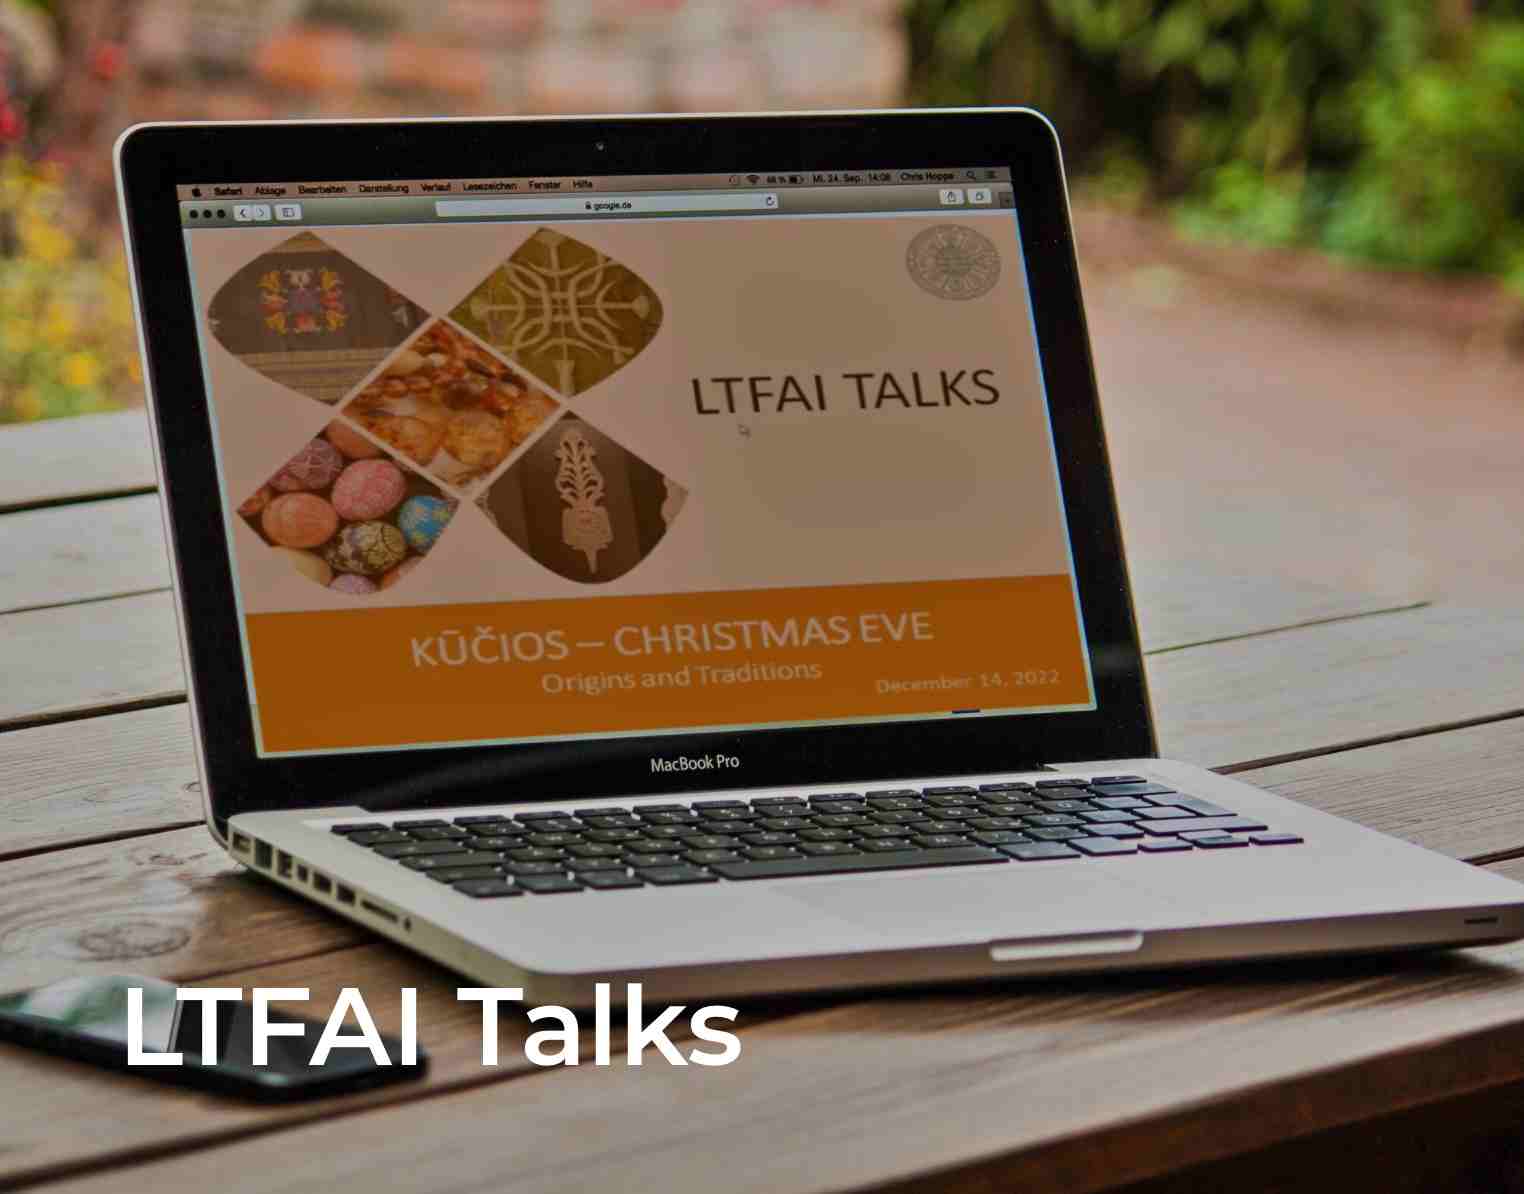 We are excited to launch our online LTFAI Talks. We hope to have a series of talks on topics that are relevant to Lithuanian folk art. These are lectures, not workshops, that will provide interesting information for anyone interested in folk art.
They will be from a half hour to a full hour in length with time for discussion at the end.
Each LTFAI Talk is free but you have to register to get an invitation to the session.
 Raised in the Lithuanian community in Hamilton, Ontario. He moved to Winnipeg, Manitoba, to attend university and was a long-time board member of the Lithuanian Canadian Community there and now serves as the resource person for inquiries about the Lithuanians in Manitoba. Giles has over 30 years of experience in municipal heritage conservation planning and public outreach, having retired as the City of Winnipeg’s Senior Planner for Heritage. He is also a current member of the LTFAI Board.
 Ramune is a translator and editor, who worked with the Canadian Lithuanian Weekly Tėviškės žiburiai as managing editor for over 20 years.
She is also an artisan who makes mosaics and jewellery using Lithuanian motifs and amber. She is a long time member of LTFAI and has recently served on our board. She learned tapestry-weaving from Aldona Vaitonienė, a master weaver in Toronto, Canada.
Testimonials: My first ever tapestry. I am an artist so I did a little extra with the beads and wire cord to hang. It reminds me of a dress so I had fun with that thought. 😉
I think you did an excellent job with the workshop, especially for those of us with no experience weaving. I have already ordered yarn. The colors in this piece was whatever my friend gave me as I was not able to go out shopping.
Newsletters will include events, online events, crafting classes, and talks about Lithuanian heritage topics.
To take full advantage of our events, become a member for only $20.00 (USD) / $15.00 (CAD) a year.
Emails are sent monthly.